 |
| butterick 5891 |
Much gratitude for hours of studio time.
Blessed luxurious studio time.
An allowing for slowing down,
stitching new work,
sampling new patterns,
playing with fabric,
taking a nap.
I've been working on samples
for future Butterick patterns
and in the midst of it all
I grabbed the opportunity for some play,
making a shirt/jacket
for an upcoming New York trip.
 |
| front collar |
Wanting something fresh,
made of natural fibers,
made of natural fibers,
that would work for cool and warm,
I found a piece of linen in grey
with shots of silver metallic.
Nothing like a little bling for the east coast.
I wanted to give the shirt's surface a little 'bump' and
I had the thought that I would do some hand-painting.
With some large fabric scraps remaining
I had plenty of surface to practice on.
 |
| back butterick 5891 |
But alas, it was not to be.
Every painted bit was unsatisfactory.
I could not get what I wanted or anything I liked.
 |
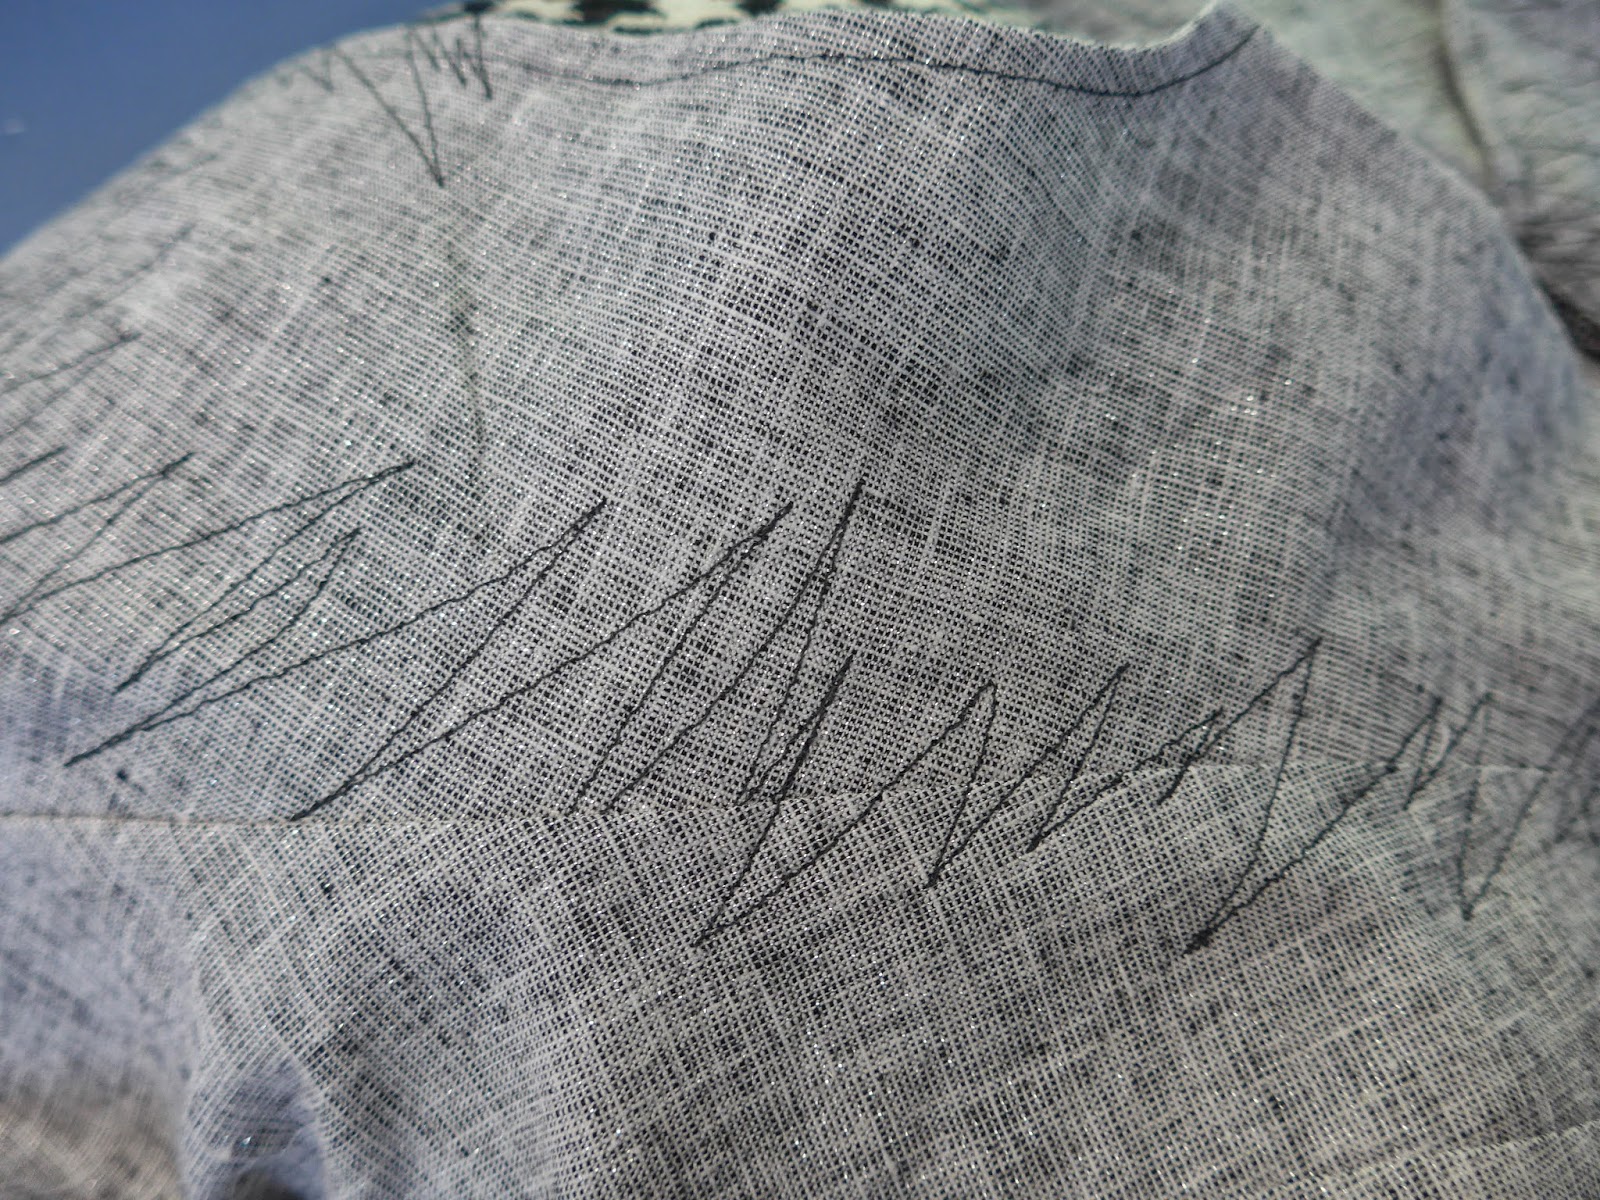
| collar detail with stitching and added selvage edge |
As I started stitching the pieces together
(with a bit of regret and disappointment I'll admit)
I was inspired by the selvage edges
that I'd decided to expose down the back seam.
What if I held the exposed selvage down
with my 'cardiac' stitch?
 |
| back seam and collar before construction |
As one thing always leads to another,
the surface stitching began to wander.
It wandered onto the collar,
where I decided to insert some of that cool selvage edge
under the fold-over facing.
 | ||
| collar with stitching and added selvage |
It wandered all around the collar
on the seamline where the collar
meets the body of the shirt.
 |
| back stitching on collar/body seamline |
It wandered onto the sleeves and sleeve hems.
I wondered if I could used it to hold the hem down?
(Yes it did,
and, I hand stitched the hem in place as well.)
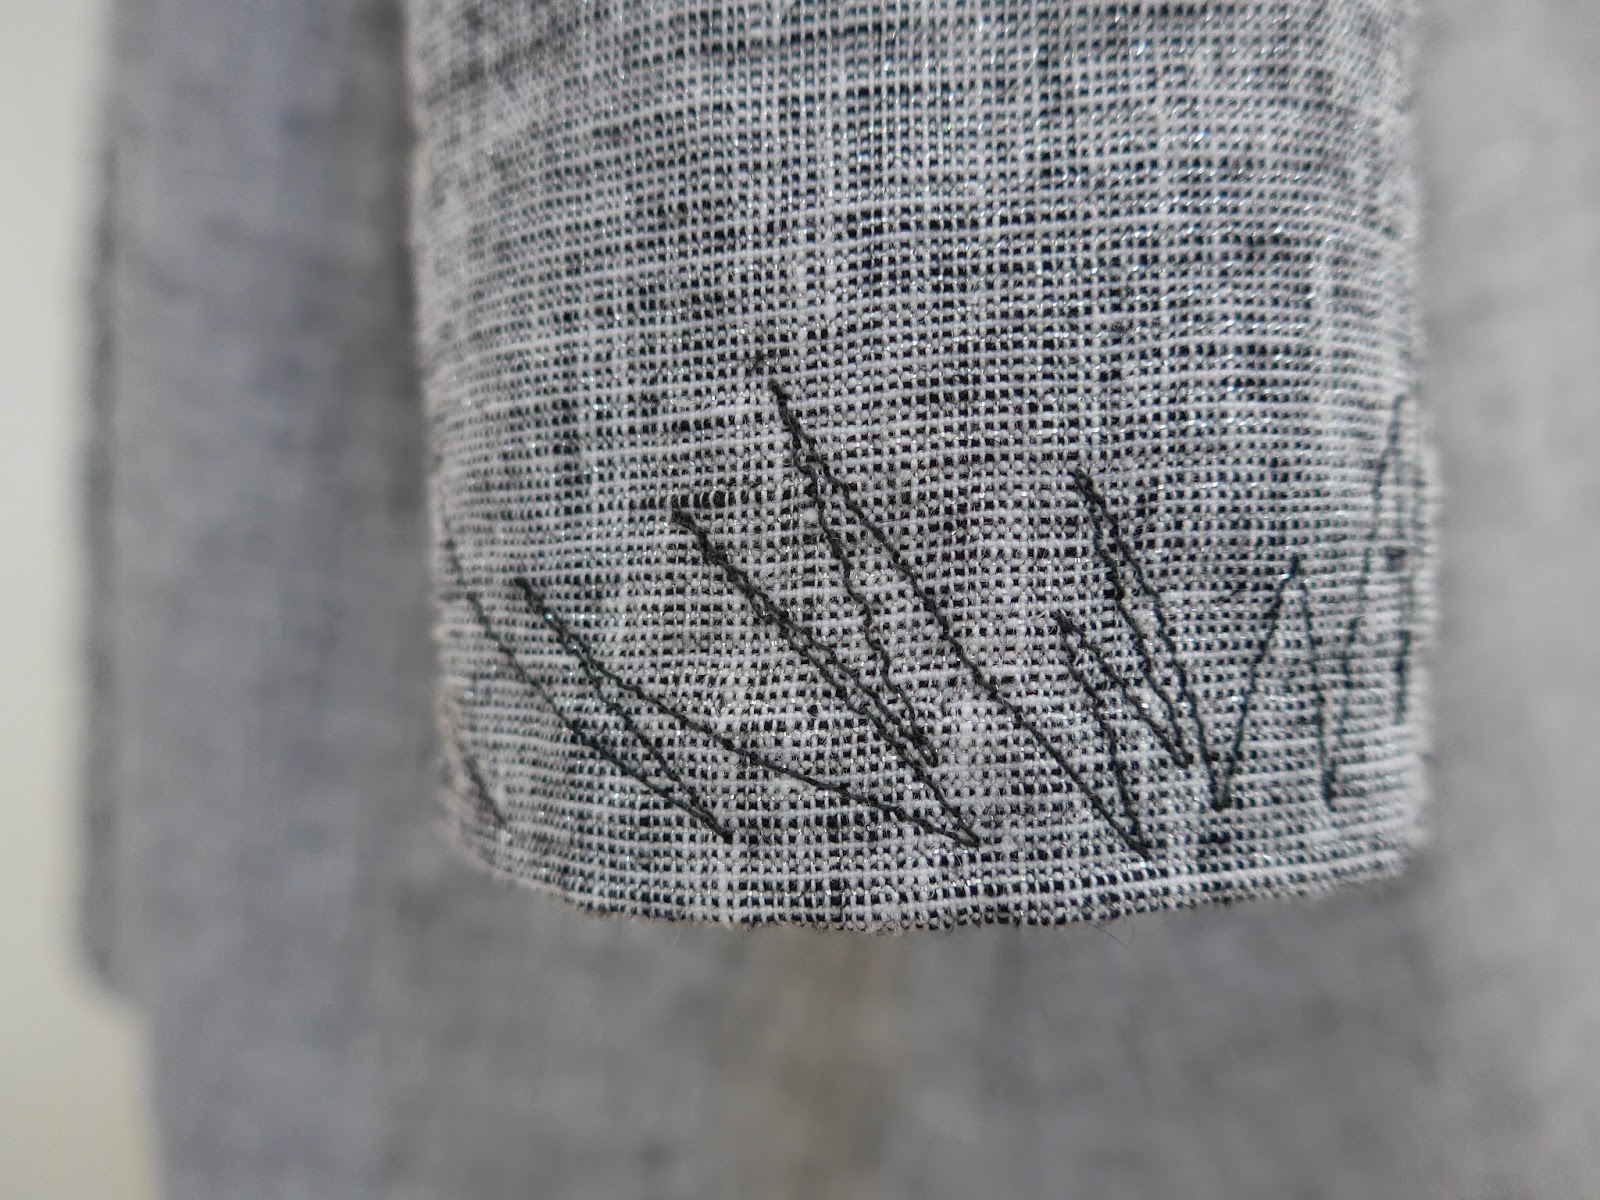 |
| right sleeve hem stitching detail |
 |
| left sleeve stitching detail |
The stitches wandered down the front
and across to the other side.
 |
| front stitching details |
 |
| stitching over selvage insert detail |
Another bit of selvage inserted in left front seam
reminds me of a pocket.
However, in this pattern the pockets
are inserted in the side seams.
 |
| pockets detail |
They got some stitching too.
I was having so much fun!
 |
| buttonhole detail |
The clear buttons with dots came from Paris
and worked perfectly in pairs
with my easy double buttonhole.
Make one long buttonhole slightly larger
than you need for two buttons.
Tack the center down before you cut
and voila, an easy solution
for a nice button detail.

Over the shoulder the line goes.
Adding just the 'bump' I wanted
with subtlety and grace.
I do as much of the cardiac stitching as possible
when the pieces are flat;
for example the sleeves, the fronts, the back.
Then, as I add more lightening stitching
after I've attached different pieces together;
for example the collar and pocket detail.
A couple of changes I made to the pattern:
2" on the 'add length here' line and 1-1/2" at the hem.
2. I cut down the flare at the side
2. I cut down the flare at the side
by trimming 1-1/2 inches from the lower side edge,
grading to nothing at the waist.
Happy stitching, creating, playing!


